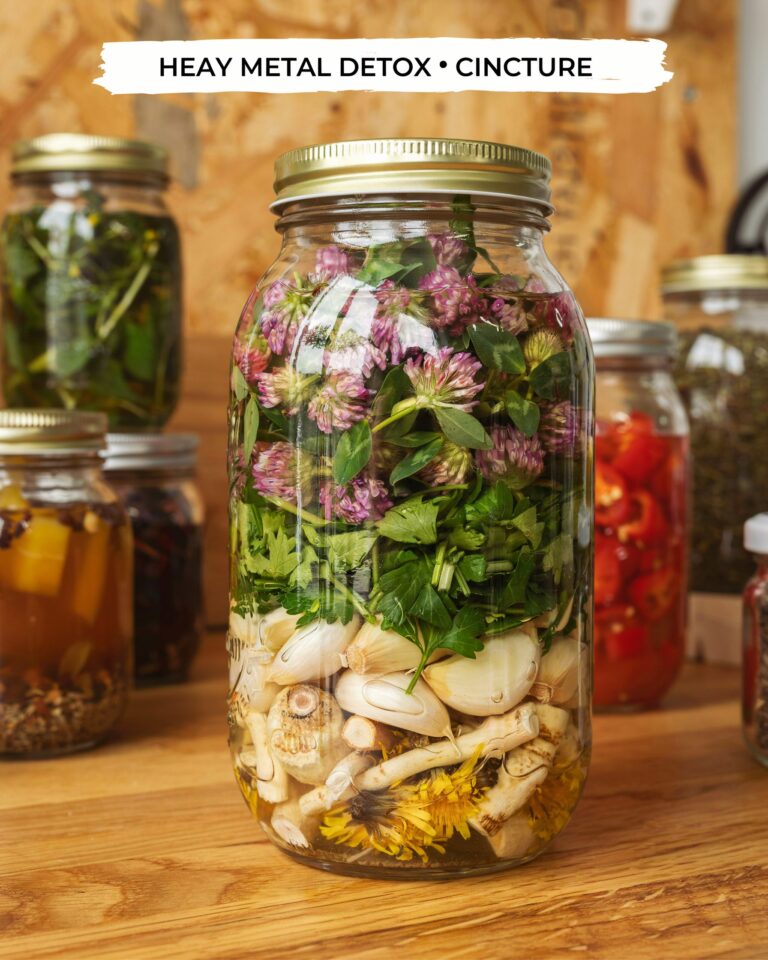
If you have been searching for fermentation recipes that actually work for a busy schedule, you have landed in the right place. This spring, as farmers markets start overflowing with cabbage, cucumbers, and other sturdy vegetables, I always get the urge to fill my kitchen counters with bubbling jars. Fermenting at home is one of the most affordable ways to add live probiotics to your plate, and you do not need fancy equipment or a science degree. A quart jar, some salt, and a bit of patience are all it takes to turn plain vegetables into tangy, gut-friendly treats. I have been making my own ferments for years, and I still get a little thrill every time I see tiny bubbles forming in a new batch.
Why Ferment Your Own Food This Season?
Spring and early summer are prime time for fermentation because fresh produce is abundant and cheap. Cabbage, radishes, carrots, and cucumbers are all at their peak, which means you can make crunchy sauerkraut and spicy pickles for pennies per jar. Commercial probiotic foods are expensive and often pasteurized, which kills the beneficial bacteria you are actually after. When you ferment at home, you keep those live cultures intact. Plus, you control the salt level, the spice blend, and the crunch factor. I also love that fermentation is a form of food preservation that does not require electricity, so it fits perfectly into a low-waste, seasonal kitchen.
Beginner Ferments: Start with Sauerkraut
If you have never fermented anything before, start with a simple sauerkraut. It is forgiving, inexpensive, and nearly impossible to mess up. All you need is a head of green cabbage, non-iodized salt (kosher or sea salt works fine), and a clean quart jar. I avoid iodized salt because it can turn the brine cloudy and affect the flavor. Slice the cabbage thinly, sprinkle with salt (about 2 percent of the cabbage weight), then massage it with your hands until the cabbage releases enough liquid to submerge itself. Pack it tightly into the jar, press out any air pockets, and weigh the cabbage down with a smaller jar or a cabbage leaf to keep it under the brine. Leave it on the counter for one to three weeks, tasting every few days until it is sour enough for you. This is the quintessential beginner ferments recipe that builds your confidence for more advanced projects.
Easy Fermented Pickles Without Canning
Lacto-fermented pickles are a world apart from the vinegar-soaked ones you buy at the store. They are still crunchy, but they have a deeper, funkier tang that comes naturally from fermentation. You do not need any heat processing or special canning equipment. Just wash your cucumbers (I prefer Kirby or pickling cucumbers for their sturdy texture), trim off the blossom end to keep them firm, and pack them into a jar with a few cloves of garlic, a sprig of fresh dill, and a pinch of peppercorns. Dissolve about one tablespoon of salt per cup of water to make a brine, then pour it over the cucumbers until they are fully submerged. Use a fermentation weight or a ziplock bag filled with brine to keep them underwater. In five to seven days you will have crisp, tangy pickles that are full of live cultures. These are one of my favorite easy fermented foods because they pair perfectly with sandwiches, salads, or just eaten straight from the jar.
How to Make Your First Batch of Kombucha
Kombucha gets a reputation for being fussy, but once you have a healthy SCOBY (that rubbery disk of bacteria and yeast), the process is pretty hands-off. Start with a plain glass jar, black or green tea, sugar (yes, the sugar feeds the culture, but almost all of it gets eaten during fermentation), and a SCOBY plus starter liquid from a friend or a brewing supply shop. Brew a strong tea, dissolve the sugar, let it cool to room temperature, then slide in the SCOBY and a cup of starter liquid. Cover the jar with a cloth and rubber band, and let it sit in a warm spot out of direct sunlight for seven to fourteen days. I like to taste it starting on day seven until it is just the right balance of sweet and tart. Bottle it with some fruit juice or fresh ginger for a fizzy second ferment, and you will have homemade probiotic recipes that cost a fraction of store-bought bottles.
Simple Tips for Fermenting Success
Once you have a few ferments under your belt, you will notice that small habits make a big difference. Here are the practices I swear by:
- Always use clean jars and utensils, but do not go overboard with sterilization; a hot soapy rinse is enough
#fermentationrecipes #easyfermentedfoods #gutfood #probioticrecipes #beginnerferments
Leave a Comment