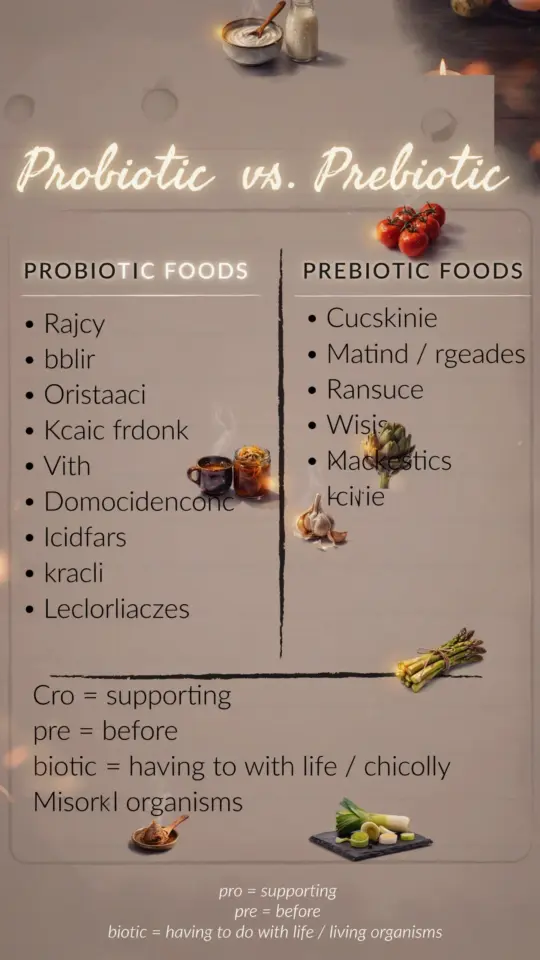
If you have been reading about gut health lately, you have probably seen the buzz around fermented probiotic foods. Sauerkraut, kimchi, and pickles are not just trendy toppings – they are live, tangy powerhouses that can support your digestion and immune system. When I first started making my own fermented vegetables at home, I made plenty of mistakes. My first batch of sauerkraut turned mushy and smelled like old socks. But after years of trial and error, I learned exactly what goes wrong and how to fix it. This article shares those common pitfalls and walks you through a simple homemade pickling recipe that actually works.
Why fermented probiotic foods support gut health
Fermented foods contain live lactic acid bacteria that colonize your digestive tract. These friendly microbes help break down nutrients, reduce inflammation, and crowd out harmful bacteria. Unlike store-bought pasteurized pickles (which are dead), homemade fermented picks retain their living cultures. A single serving of tangy sauerkraut can contain billions of probiotic organisms. That is why adding even a small forkful to your lunch can make a real difference in your digestion and energy levels over time.
The most common mistake: using chlorinated tap water
Many beginners assume any water will work for a brine. But tap water contains chlorine and sometimes chloramine, which are designed to kill bacteria. Unfortunately, they also kill the good bacteria you need for fermentation. I learned this the hard way when my first brine stayed clear and never turned cloudy. The vegetables just sat there, slowly rotting instead of fermenting.
Always use filtered or distilled water, or let tap water sit out uncovered for 24 hours so the chlorine evaporates. If your tap water has chloramine (which does not evaporate), stick with bottled spring water. Your brine should be free of any disinfectants so the probiotics can multiply properly.
Easy homemade pickling recipe: a brine that works every time
Once you fix the water issue, the rest is straightforward. This recipe uses crunchy vegetables and a simple salt brine. You do not need special equipment, just a clean glass jar and a weight to keep the veggies submerged.
- Vegetables: 3 cups of chopped cucumbers, carrots, or green beans (or a mix).
- Aromatics: 2 cloves garlic (smashed), 1 teaspoon dill seed, 1 bay leaf, a few peppercorns.
- Brine: 1 tablespoon fine sea salt dissolved in 4 cups filtered water.
- Optional: 1 tablespoon whey (from yogurt) or a starter culture if you want faster fermentation.
Pack the vegetables and aromatics tightly into a clean quart jar. Pour the brine over them until fully covered, leaving an inch of headspace. Place a glass fermentation weight or a small clean rock on top to keep everything below the liquid. Cover loosely with a lid (or use a fermentation airlock) and set it on a plate (it might bubble over). Let it sit at room temperature, out of direct sunlight, for 3 to 7 days. Taste daily after day three. When it tastes pleasantly sour and the vegetables are still crisp, move the jar to the fridge.
Temperature mistakes that ruin your batch
Fermentation is temperature sensitive. Too warm (above 75°F) and your vegetables will ferment too fast, turning soft and sometimes developing a yeasty or alcoholic smell. Too cold (below 60°F) and fermentation stalls, allowing mold to take over. I always keep my jars in a kitchen cabinet that stays around 68 to 72°F. If your kitchen is hotter, try a basement or a cooler corner. A steady temperature gives you a clean, tangy flavor and keeps the texture crunchy.
Why your pickles might turn mushy: fermentation time and salt ratios
Mushy pickles are one of the most disappointing results. The culprit is usually either too little salt or too long a fermentation. Salt draws water out of the vegetables and creates an environment where good bacteria thrive but spoilage bacteria cannot. If you skimp on salt (less than 2% by weight), the vegetables soften too quickly. If you let them ferment for more than 10 days at room temperature, enzymes break down the cell walls. Stick with a 2 to 3% salt brine (that is 1 tablespoon of salt per 4 cups of water) and stop fermenting when the tang is sharp but the crunch is still there. Adding a grape leaf or a pinch of calcium chloride (pickle crisp) can also help maintain firmness.
How to avoid mold and kahm yeast on the surface
Mold is the number one fear for new fermenters. White or green fuzzy spots mean the batch is spoiled. However, a white or cream-colored film on top is usually harmless kahm yeast. How do you prevent both? Keep your vegetables fully submerged. Any exposure to air invites trouble. Use a weight, and if you see tiny bubbles forming on the surface, that is fine. But if you see fuzzy mold, discard the entire batch. Kahm yeast can be skimmed off (the pickles below are still safe), but it does change the flavor slightly. To reduce kahm, make sure your brine salt concentration is correct and avoid opening the jar too often during the first few days.
Tips for adding fermented probiotic foods to your daily diet
Once you have a successful jar, do not let it sit in the fridge forgotten. Start with one tablespoon per day, added to salads, sandwiches, or even scrambled eggs. Your gut needs time to adjust to the influx of new bacteria. Over time, you can work up to a quarter cup. Fermented foods are potent, and eating too much too fast can cause bloating or gas. I like to keep a jar of pickled carrots at my desk to snack on, and a jar of sauerkraut in the fridge for a quick side dish. Remember that heat kills probiotics, so add them to dishes after cooking, not during.
Common salt confusion: which salt is best for fermentation
Not all salt is created equal. Iodized table salt contains anti-caking agents that can cloud your brine and sometimes inhibit fermentation.
#FermentedProbioticFoods #GutHealth #HomemadePickling #ProbioticRecipes #Fermentation
Leave a Comment