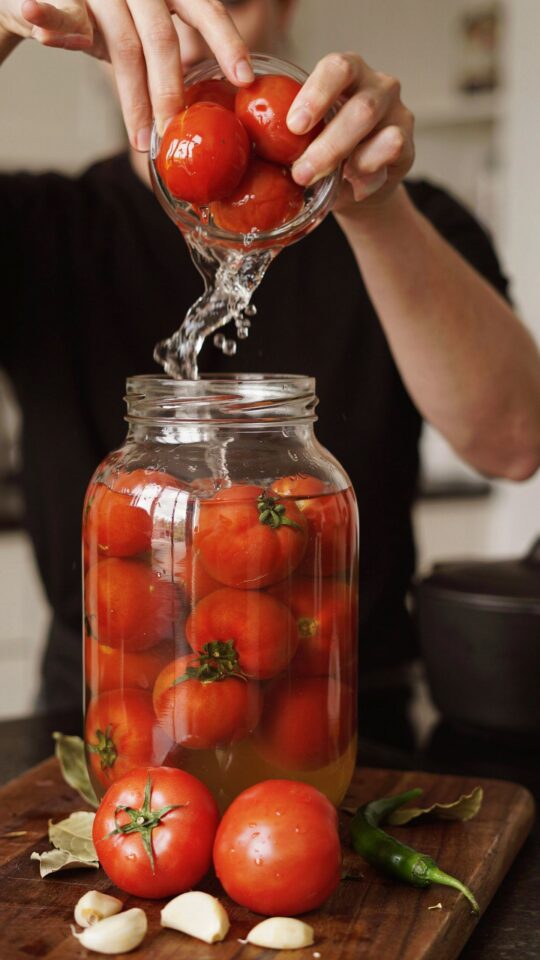
I never thought a fermented tomatoes recipe could change the way I look at a simple salad, but here I am, obsessed with the tangy crunch of homemade lacto-fermented tomatoes. My first batch was a happy accident. I had too many cherry tomatoes from the garden and remembered that salt and water can do magical things. That first jar turned out so good I now keep a constant supply in my fridge. If you have ever wanted to try a simple ferment that actually works, start here. This method uses just salt, water, and fresh tomatoes. No fancy equipment, no weird ingredients. Just a few days of patience and you get a probiotic powerhouse that brightens everything from sandwiches to grain bowls.
Why I Love This Simple Lacto-Fermented Tomatoes Recipe
Most fermentation recipes feel intimidating. Sauerkraut needs massaging, kimchi requires a dozen ingredients. Tomatoes are easier. They already have a natural tang and plenty of moisture. With a 2% salt brine, the lactobacillus bacteria on the tomato skins do all the work. Within three to four days, the tomatoes turn sour, slightly fizzy, and oddly crunchy. The texture is the real surprise. They do not turn mushy like canned tomatoes. Instead, they remain firm with a pop when you bite them. I use them in place of pickles on burgers or chop them into tuna salad for a probiotic kick. The flavor is bold but not overpowering, like a cross between a pickle and a sun-dried tomato without the sweetness.
I have tried many fermented tomato recipes over the past year. Some called for garlic, dill, or peppercorns. Those are fine, but plain salt brine lets the tomato flavor shine. You can add spices later. For your first batch, keep it pure. That way you learn what fermented tomatoes actually taste like without distractions. Trust me, the plain version is delicious enough to eat straight from the jar.
What You Need for Homemade Fermented Tomatoes That Actually Work
You do not need a fermentation crock or airlock lids. A simple glass jar, a weight to keep tomatoes submerged, and a loose lid are enough. I use a wide-mouth quart jar and a small glass ramekin as a weight. Here is the exact shopping list if you want to replicate my setup:
- Fresh, ripe tomatoes. Cherry or grape tomatoes work best. They stay crunchy better than large slicing tomatoes.
- Non-iodized salt. I use fine sea salt or kosher salt. Table salt with iodine can inhibit fermentation and turn the brine cloudy in a bad way.
- Filtered or distilled water. Chlorinated tap water kills the good bacteria. Let tap water sit out overnight, or just use bottled spring water.
- A clean glass jar. Mason jars or any jar with a wide mouth. Avoid metal lids that corrode; use plastic lids or a cloth cover with a rubber band.
- Something to weigh down the tomatoes. A smaller jar filled with water, a glass fermentation weight, or a clean stone (boiled first).
That is it. No starter culture, no whey, no vinegar. The bacteria already live on the tomatoes. You just create the right environment for them to thrive.
Step-by-Step: How to Ferment Tomatoes at Home for Beginners
Start by washing your tomatoes gently. Remove any stems or bad spots. Leave cherry tomatoes whole. If you use larger tomatoes, cut them into quarters or slices. Puncturing the skin helps the brine penetrate faster, but whole cherry tomatoes work beautifully too. Pack the tomatoes tightly into your jar. Leave about an inch of headspace at the top.
Now make your brine. The golden ratio is 2% salt by weight of water. For one quart of water, use 20 grams of salt (about 1 tablespoon). I weigh both water and salt on a kitchen scale for consistency. Stir until the salt dissolves completely. Pour the brine over the tomatoes until they are fully covered. Then place your weight on top to keep all tomatoes submerged. Any tomato floating above the brine will mold. That is the only real rule: everything below the liquid line stays safe.
Cover the jar with a lid but do not tighten it. Fermentation produces carbon dioxide, so you want gas to escape. I simply place the lid on loosely or use a coffee filter secured with a rubber band. Set the jar on a plate or in a bowl in case brine bubbles over. Leave it at room temperature, out of direct sunlight. A kitchen counter works perfectly.
After 24 hours, you might see tiny bubbles forming. That is a good sign. Taste a tomato after three days. If it is pleasantly sour and still crunchy, move the jar to the refrigerator. If you want a stronger tang, let it ferment another day or two. I usually stop at day four. The longer it sits at room temperature, the softer the tomatoes get. Crunchy is better, so do not push past day five unless you like mushy pickles.
Common Problems with Crunchy Fermented Tomatoes and How to Fix Them
The biggest issue I see beginners face is mold on the surface. This happens when tomatoes float above the brine or when the jar is not clean. Always use a weight that keeps solids submerged. If you see a thin white film on the surface, that is kahm yeast. It is harmless. Just skim it off with a clean spoon. The tomatoes below are fine. Black or green fuzzy mold means the
#fermentedtomatoes #fermentationrecipes #homemadeferment #probioticfood #tangyferment
Leave a Comment