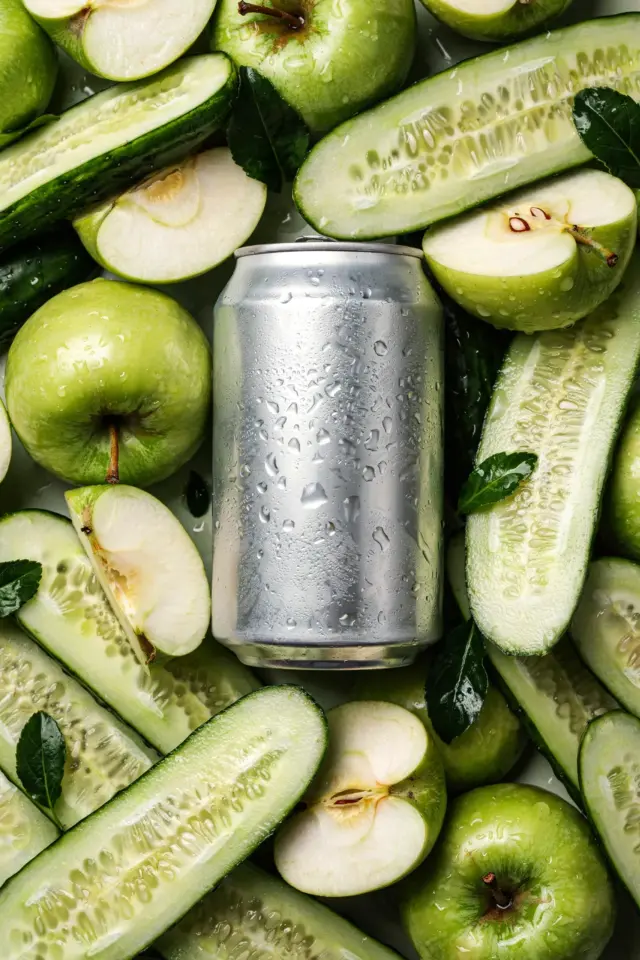
So you want to start kombucha brewing at home. That fizzy, tangy tea is incredibly satisfying to make yourself. But if you are new to home fermentation, a few small missteps can turn your first batch into a sad, moldy mess or a bottle of vinegar. I have been there, and I learned the hard way. This guide skips the perfect Pinterest photos and gets real about the common mistakes that beginners make and exactly how to avoid them. By the end, you will feel confident to get your SCOBY working and enjoy your own kombucha.
Choosing the Right SCOBY for Kombucha Brewing
The SCOBY (Symbiotic Culture of Bacteria and Yeast) is the engine of your kombucha. Many beginners buy a dried or weak starter, which leads to slow fermentation or mold. The biggest mistake is trying to brew with a SCOBY that is too thin or damaged. You want a firm, off-white or beige disc that smells like fresh yeast, not cheese or rot.
If you are getting a SCOBY from a friend, ask for at least one cup of strong starter liquid alongside the disc. That starter liquid is crucial because it drops the pH quickly, protecting the new batch from unwanted bacteria. Avoid using a SCOBY that has been sitting in the fridge for weeks without feeding. When in doubt, buy from a reliable homebrew supplier or a local home fermentation enthusiast.
- Look for: a ¼ to ½ inch thick SCOBY with no brown or fuzzy spots.
- Smell test: it should smell like sour beer or cider, never like garbage.
- Always have backup starter liquid. Without it, your kombucha will struggle to form a new culture.
Temperature Control Mistakes in Home Fermentation
Kombucha is a living thing, and it likes a consistent temperature between 75 and 85°F (24 to 29°C). Too cold, and your fermentation will stall, leaving the tea sweet and vulnerable to mold. Too hot, and you might kill the yeast or produce off-flavors that taste like harsh vinegar. I once set my jar on top of the fridge and wondered why nothing happened for two weeks.
The easy fix is to find a warm, draft-free spot in your kitchen. A shelf above the stove (when not in use) or a cupboard near the water heater works well. If your house runs cool, use a heating wrap made for kombucha or simply wrap the jar in a towel. A consistent temperature is more important than a perfect one. Avoid direct sunlight; it can hurt the culture and cause temperature spikes.
Oversteeping or Understeeping the Tea for Kombucha
The tea you brew is the base for the whole fermentation. A common error is using weak tea or boiling the tea leaves too long, which releases bitter tannins. Stick to black tea or green tea, plain without added oils. For each gallon of water, use about 8 to 10 teabags or 2 tablespoons of loose leaf. Steep for 8 to 10 minutes after turning off the heat, then remove the bags.
Do not use flavored teas with dried fruit or artificial flavors; those can mess with the culture. Also, never forget the sugar. Kombucha needs sugar to feed the yeast, even if you prefer a drier finish. Use plain white or organic cane sugar. Brown sugar can work too, but it might give a molasses flavor. The tea should taste sweet and strong before you add the SCOBY.
Fermentation Time and Tasting Errors
Beginners often get impatient and bottle their kombucha too early or let it sit for three weeks until it is pure vinegar. The first fermentation usually takes 7 to 14 days, but this depends on temperature and your SCOBY strength. The biggest mistake is not tasting it regularly. Start tasting after day five by dipping a clean straw into the jar. Do not rely on a calendar alone.
You want a balance: still slightly sweet but with a good tang. If it tastes like flat tea, give it more time. If it is vinegary, you let it go too long. Another common error is disturbing the jar too often. Every time you lift the cloth cover, you let in air and potential contaminants. Use a spigot jar or a clean turkey baster to taste without opening the whole lid.
Flavoring Kombucha After First Fermentation
Once your kombucha has the right balance, it is time for flavoring. Many beginners try to add fruit directly into the main brewing jar. This is a mistake because pulp and sugars can cause mold during the first fermentation. Instead, do a second fermentation (often called 2F) in sealed bottles. Remove the SCOBY and reserve a cup of starter for the next batch, then pour the kombucha into swing-top bottles.
Add flavorings like chopped ginger, berries, citrus zest, or herbs. A good ratio is about 10% flavor by volume. Do not overfill the bottles; leave an inch of headspace for carbonation. Another common mistake is adding too much sugar (like honey or fruit syrup) which can cause bottle explosions. Stay with whole fruit or small amounts of juice. Let the bottles sit at room temperature for 2 to 4 days, then refrigerate.
Cleaning Equipment for Kombucha Brewing
Sanitation matters, but you do not need sterile lab conditions. The mistake is using dish soap or harsh chemicals that leave a residue. Soap can kill your SCOBY culture
#kombucha #kombuchabrewing #homefermentation #kombuchaguide #brewingtips
Leave a Comment