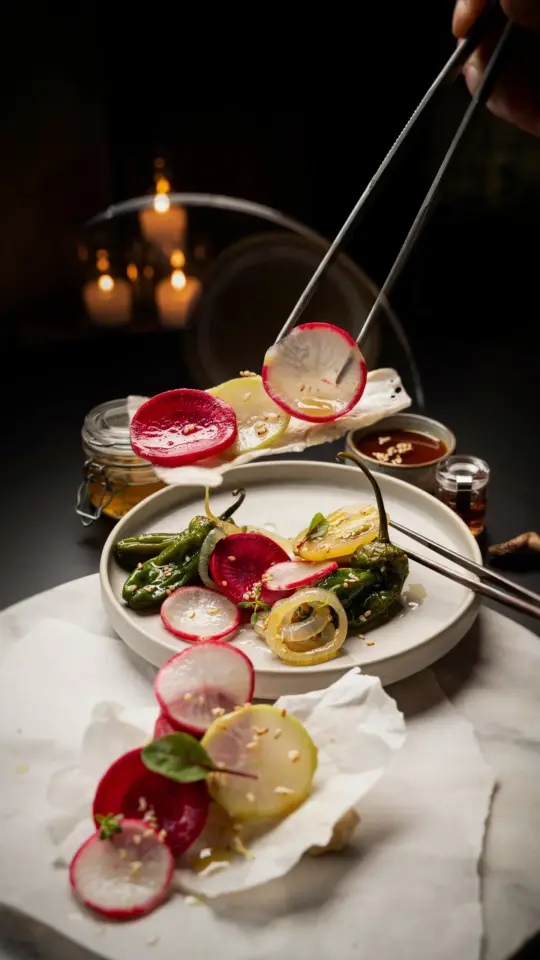
If you are looking for a cheap way to add more live bacteria to your diet, this lacto-fermented radish recipe is exactly what you need. It turns a humble root vegetable into crunchy probiotic pickles that support gut health without costing much. With just radish, salt, and a few spices, you can make a tangy snack that beats expensive store-bought ferments. I have been making these for years, and they always come out crisp and sour. The process is simpler than you think, and it does not require any fancy equipment.
Why Radishes Are a Budget Friendly Fermenting Vegetable
Radishes are one of the cheapest vegetables you can buy, especially during summer and spring. A large bunch costs less than a dollar at most farmers markets or grocery stores. This makes them perfect for anyone who wants to try lacto-fermentation without spending much money.
Unlike cabbage or carrots, radishes ferment quickly and stay crunchy. They also absorb flavors well. You can use red radishes, daikon, or even watermelon radishes if you find a good deal. I often buy whatever is on sale and adjust the spices later. This keeps the cost low and lets you experiment with different textures and tastes.
The Simple Ingredients for Homemade Probiotic Pickles
You only need three things to make these probiotic pickles: radishes, non-iodized salt, and water. That is the base. Everything else is optional and depends on your preference. Here is what I usually use:
- 1 pound of radishes (red, daikon, or a mix)
- 1 tablespoon of sea salt or kosher salt (no iodine, no anti-caking agents)
- 2 cups of filtered water (chlorine can stop fermentation)
- Optional spices like garlic cloves, black peppercorns, dill, or chili flakes
The salt ratio matters. Use 2 to 3 percent salt by weight of the water and vegetables combined. For most batches, one tablespoon of salt per two cups of water works well. This creates a safe environment for good bacteria while keeping bad bacteria away.
Step by Step Lacto Fermentation Process for Beginners
The process is straightforward. Wash your radishes thoroughly and trim off the tops and roots. Slice them into rounds, half moons, or sticks. Thicker slices stay crunchier, while thinner slices ferment faster.
Pack the radish pieces into a clean glass jar. Add your spices between layers. I put garlic and dill at the bottom and a few peppercorns near the top. Then mix your salt with filtered water until it dissolves completely. Pour the brine over the radishes until they are fully submerged. Leave about an inch of headspace at the top.
Place a weight on top to keep the radishes under the brine. A small glass jar or a cabbage leaf works fine. Close the jar with a lid and set it on a plate to catch any overflow. Let it sit at room temperature, around 65 to 72 Fahrenheit, for 3 to 7 days. Check it daily and taste after day three. The longer it sits, the tangier it gets.
How to Get Crunchy Fermented Radishes Every Time
Nobody wants soft or mushy pickles. The secret to crunchy fermented radishes is simple. First, use fresh radishes that are firm and not rubbery. Older radishes lose their snap quickly. Second, keep the salt ratio correct. Too little salt leads to softness, and too much salt slows down fermentation.
Another trick is to add a bay leaf or a grape leaf to the jar. These leaves contain tannins that help vegetables stay crisp. I keep a few dried bay leaves in my pantry just for this purpose. Also, do not let the radishes sit in warm temperatures above 75 degrees. High heat speeds up fermentation but makes the texture worse. A cool corner of your kitchen is ideal.
Storing and Serving Your Fermented Radish Pickles
Once the radishes taste tangy enough for you, move the jar to the refrigerator. The cold slows down fermentation and keeps them crunchy for months. I have eaten fermented radishes that were stored for six months and they were still crisp and delicious.
You can eat them straight from the jar as a snack, chop them into salads, or serve them alongside sandwiches and tacos. The brine itself is full of beneficial bacteria. I sometimes drink a small spoonful of it in the morning or use it as a tangy dressing base mixed with olive oil and herbs. Do not throw it away.
Troubleshooting Common Fermentation Issues on a Budget
Sometimes things go wrong, but most problems are easy to fix. If you see white sediment at the bottom of the jar, that is normal. It is dead bacteria and yeast. If you see a white film on the surface, that is kahm yeast. It is harmless but can change the flavor. Scoop it off and make sure your vegetables stay submerged.
If the brine turns pink or purple, do not panic. Radishes naturally release
#fermentedradish #lactofermentation #probioticpickles #homemadeferments #picklingrecipes
Leave a Comment