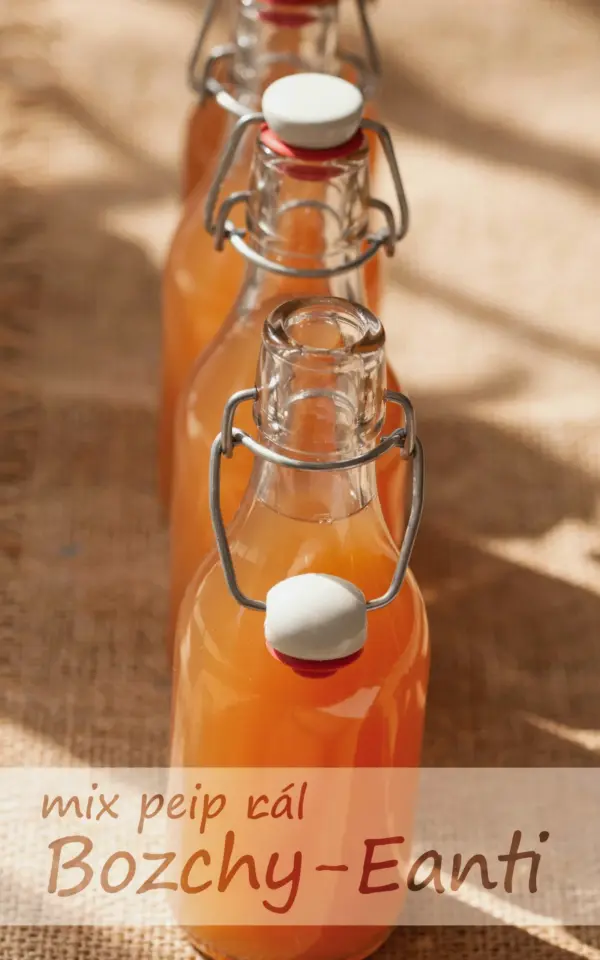
If you have ever wanted to try a truly hands-on fermentation project that tastes like autumn in a bottle, this fermented rosehip soda recipe is exactly where you should start. I first made it last November after a long afternoon of foraging along a hedgerow near my house, and I have been hooked ever since. Unlike store-bought kombucha or kefir, this soda starts with wild yeast living on the rosehips themselves, which means every batch has its own subtle personality. It is bubbly, tangy, and naturally full of probiotics. And because it uses a simple wild yeast starter, it is actually easier than making sourdough. Whether you are a seasoned fermenter or a total beginner looking for a forgiving entry point, this drink is worth your kitchen counter space.
Foraging Rosehips for Your Wild Fermented Soda
The heart of any good rosehip soda is the fruit itself. Rosehips are the seed pods of rose bushes, usually left on the plant after the petals fall. They are packed with vitamin C and natural pectin, which gives the soda a soft body. For the best flavor, pick them after the first frost in late autumn or early winter. The cold helps convert starches into sugars, making the hips sweeter and less astringent.
When you go foraging, look for firm, bright red or orange hips. Avoid any that are shriveled or have black spots. I usually bring a small basket and a pair of pruners to snip the stems. A word of caution: always harvest from areas you know are free of pesticides or road runoff. If you cannot forage, dried rosehips from a health food store work too, but you will need to rehydrate them before using.
Making a Simple Wild Yeast Starter for Gut Health
Most probiotic sodas require a starter like ginger bug or whey. For rosehip soda, I use a low-effort wild yeast starter that only needs rosehips, sugar, and water. This method lets the native microbes on the skin of the fruit do the work. It is the same principle as a sourdough starter but much faster.
- Place a handful of fresh rosehips (about 1 cup) into a clean quart jar.
- Add 2 tablespoons of organic cane sugar (or any unrefined sugar).
- Fill the jar with non-chlorinated water, leaving an inch of headspace.
- Stir gently, cover with a cloth or coffee filter secured with a rubber band, and set on your counter.
Within 24 to 48 hours, you should see tiny bubbles forming. That is the sign your wild yeast is waking up. Let it sit for another day or two until the liquid smells faintly yeasty and a bit tangy. Do not worry if a thin white film appears on top – that is usually kahm yeast, which is harmless. Just skim it off and keep going.
How to Make Probiotic Rosehip Soda from Your Starter
Once your starter is active and bubbly, you can turn it into the actual soda. This part is very flexible, which makes it perfect for beginners in fermentation recipes. You will need another batch of fresh or rehydrated rosehips, sugar, and water. The ratio is roughly 1 part fruit to 4 parts water by volume.
In a large pot, combine 2 cups of clean rosehips with 8 cups of water. Bring to a gentle boil, then simmer for 10 minutes. This softens the hips and releases their flavor. Let the liquid cool to room temperature. Strain out the solids using a fine mesh strainer or cheesecloth. You should have a deep reddish-brown tea. Stir in 1/2 cup of sugar until dissolved. Once the liquid is cool (below 80°F or 27°C), stir in 1 cup of your wild yeast starter. Pour everything into a clean half-gallon jar or swing-top bottles, leaving an inch of headspace for carbonation.
Seal the bottles and leave them at room temperature for 2 to 4 days. The exact time depends on your kitchen temperature. During colder months, it may take a full 4 days. Check daily by giving the bottle a gentle squeeze. When the plastic feels firm (or you see vigorous bubbles in a glass jar), it is ready to refrigerate.
Bottling and Flavoring Your Homemade Soda
Plain rosehip soda is lovely all on its own, but this is where you can get creative. Because the base flavor is mildly fruity and tannic, it pairs well with spices or herbs. I often add a cinnamon stick and three cloves to the pot while simmering the hips, which gives the soda a mulled cider vibe. Ginger is another winner – just grate a thumb-sized piece and add it along with the rosehips.
For bottling, I recommend swing-top bottles with rubber gaskets. They seal tightly and let you check carbonation easily. Before you bottle, taste the soda. If it is not sweet enough for you, add a teaspoon of sugar per bottle to boost fizz in the final ferment. Be cautious with over-carbonation: if your kitchen is warm, shorten the room-temperature phase to 2 days and then refrigerate. Once cold, the fermentation slows way down, and your soda will keep for a couple of weeks.
Why Fermented Drinks Like This Are Great for Beginners
I have tried my share of fermentation projects, from sauerkraut to water kefir. Rosehip soda stands out because it is forgiving. The wild yeast starter is robust, and you do not need to worry about precise temperatures or pH strips. If your starter smells funky (like barnyard or sour compost) instead of pleasantly yeasty, start over with fresh hips. That rarely happens, though, because rosehip skin is naturally covered in the right kind of microbes.
Another reason this probiotic homemade drink works well for newbies is that it does not require a SCOBY or special equipment. You probably already have a pot, a jar, and a few bottles. Plus, the whole process takes less than a week from start to chilled glass. For anyone wanting to dip a toe into fermenting their own sodas, rosehip is a low-risk, high-reward fruit to learn with.
Seasonal Tips for the Best Fizz and Flavor
Because rosehips ripen only once a year, I like to make a big batch of concentrated syrup in late fall and freeze it. That way I can brew soda all winter long. To do this, simply simmer the rosehips as described but with double the amount of hips, strain, and add sugar. Freeze the cooled syrup in ice cube trays or small jars. When you want a fresh soda, thaw a portion, dilute it with water, and add a splash of active starter.
If you are making the soda in spring or summer, use dried rosehips from a reputable supplier. Rehydrate them in warm water for an hour before simmering. The flavor will be slightly milder, so consider adding a tablespoon of lemon juice to brighten it up. Either way, keep your bottles out of direct sunlight during the carbonation phase. A dark cupboard works best.
Final Thoughts on Your Fermented Rosehip Soda
This bubbly, tangy drink has become my favorite way to preserve the taste of autumn and support my gut health at the same time. The first time I cracked open a bottle and heard that satisfying hiss, I knew I had found a keeper. If you forage your own rosehips, the process feels even more rewarding. It is real food made with your own hands, and it does not get much better than that. Give it a try with the next batch of ripe hips you find, and see how your own wild yeast behaves. I would love to hear how your soda turns out, so drop a comment below or tag me on Pinterest when you make yours.
#fermentedrosehipsoda #fermenteddrinks #probioticsoda #rosehiprecipe #homemadesoda
Leave a Comment