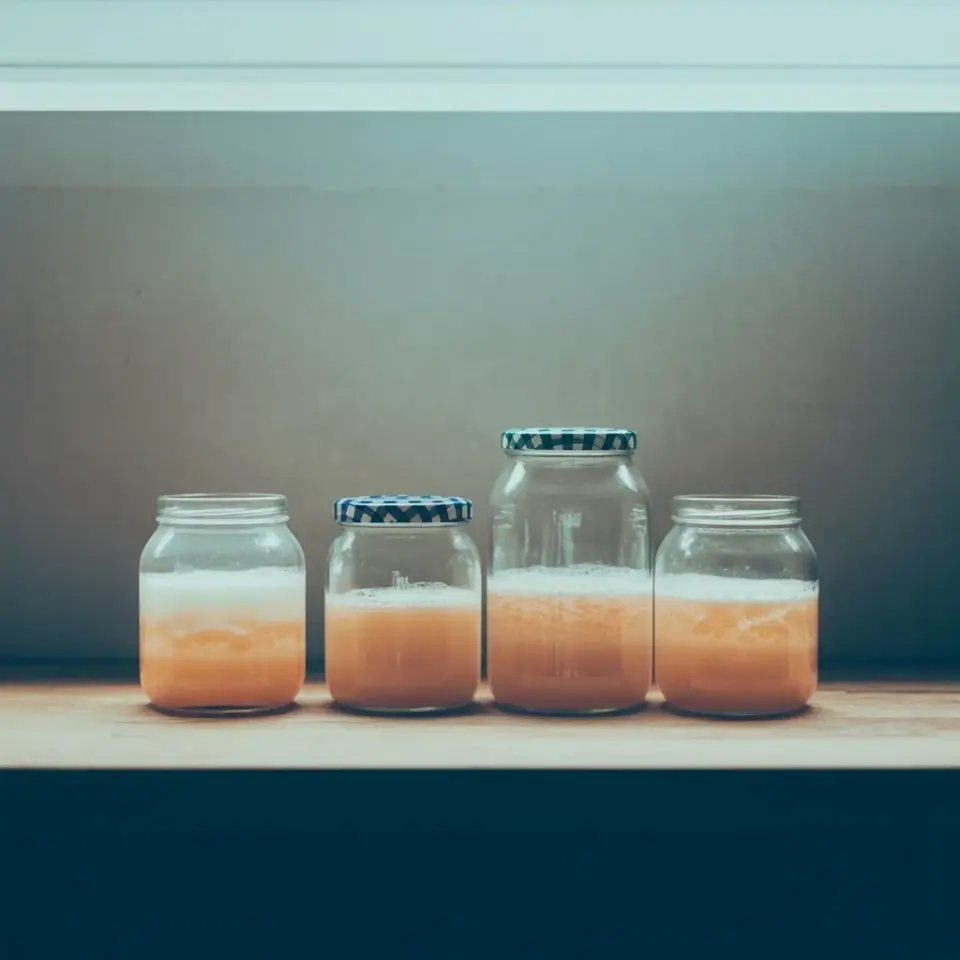
You bought a big bag of apples for those pies, and now you’re staring at a pile of peels and cores wondering if you can really turn them into something useful. Yes, you can. Homemade apple cider vinegar is one of those fermentation recipes that feels almost like magic, but it’s also one of the easiest DIY fermentation projects to mess up if you aren’t careful. I’ve made my fair share of sad, slimy jars, and I’m here to help you skip straight to the good stuff.
Look, the internet makes this look foolproof. Chop scraps, add sugar water, wait. That’s technically it, but the details matter. The difference between a bright, tangy homemade apple cider vinegar and a jar of mushy rot is a handful of small decisions you make on day one. This is not a precise science, it’s more like cleaning a closet, the mess is part of the deal, but you need to know where things go.
Let’s get into the specific mistakes I see everyone making, including me on my first three attempts. We’ll fix them before they happen to you.
Mistake #1: Picking The Wrong Apple Scraps (And Ignoring The Blemishes)
So you want to use kitchen scraps? Great, that’s the whole point of this homesteading ritual. But you can’t just toss in anything. If your scraps are coated in that sticky, dark bruise from where the apple hit the counter, they’re already fermenting on their own. That might sound fine, but it introduces wild yeast that isn’t necessarily the kind you want. It can make your final vinegar taste like old socks.
Stick to firm peels, clean cores, and avoid anything with visible mold. I know, I know, the mold looks small, but it can instantly ruin the whole batch. Honestly, a few browned spots are fine, but if it’s fuzzy, bin it. The best scraps are the ones you peel off a fresh, crisp apple that you’d happily eat raw.
Your scraps also need to be packed, but not crammed. You want them to fill about half to two-thirds of your jar, leaving plenty of room for the water. Think of it like making a loose salad, not a trash compactor. If you pack them too tight, the water can’t circulate, and you’ll end up with dry apples bobbing on top. Those dry bits are prime real estate for mold.
Why Rinsing Your Scraps Is A Non-Negotiable Step (For Most People)
This might ruffle some feathers, but I always rinse my scraps. I don’t care if the apples are organic or from a farmers market. There’s dirt, maybe a little wax, and definitely some lingering bacteria on that skin. That stuff isn’t going to help your vinegar. Water and a quick scrub is all it takes.
Ok, but here’s the counterpoint: some people swear you should never wash them because the natural yeast on the skin is what gets the party started. There’s some truth to that, the skin does carry wild yeast. However, in my experience, the added sugar in this recipe gives you plenty of fermentation power anyway. You don’t need the skin’s wild yeast, you just need clean sugar water to feed the bacteria that’s already everywhere.
I’d rather risk a slightly slower start than risk a batch of vinegar that tastes like a wet basement. A quick rinse also helps you see if there are any actual bad spots you missed. If you’re worried about losing the yeast, just don’t scrub aggressively. A gentle swish under the tap is good enough.
The Sugar Water Ratio, It’s A Window Not A Wall
For every cup of water you add, you want about one to two tablespoons of sugar. That’s it. This isn’t like baking a cake where a gram off means a disaster. This is a living process. The sugar is food for the bacteria and yeast, so if you add less, it just ferments slower. Add more, and it ferments faster (and might turn a bit boozy before it goes sour).
I usually dissolve a cup of sugar into a large pot of warm water, just until it’s clear. Then I let it cool completely. If you pour hot sugar water directly onto the apples, you’ll kill off all the good microbes. Cold water is safe, but warm helps the sugar dissolve faster. The mixture needs to be at room temperature before it touches the scraps.
Here’s a little tangent that might save you a headache. The water quality actually matters. If your tap water is heavily chlorinated, it can stall fermentation, because chlorine kills bacteria. I use filtered water now because of this. I didn’t believe it would make a difference until I switched, and my vinegar got noticeably tangier. Try it if you’re stuck with weak batches.
How To Cover Your Fermentation Jar (And Why Airtight Lids Are A Trap)
Do not, under any circumstances, screw the lid on tight. I did this once when I was in a rush, and about two days later I heard a faint pop from the kitchen. The jar had built up so much gas that when I opened it to check, it fizzed up like a soda that had been shaken all day. What a mess. That gas is a byproduct of fermentation, and it needs somewhere to go.
You need airflow, but you also need to keep bugs and dust out. The classic move is to cover the jar with a few layers of cheesecloth or a clean dish towel, secured with a rubber band. This lets the mixture breathe while keeping the fruit flies out. Speaking of fruit flies, they are relentless for this stuff. Don’t give them a chance.
Use a glass jar. Please. I know plastic is light and doesn’t shatter, but the acidity of the vinegar can leach chemicals from plastic over time. This is a long process, and I don’t want to drink anything that’s been marinating in a plastic bucket for six weeks. A wide-mouth glass jar is your best friend here. You need the width to easily stir and press down the apple scraps later.
Patience, Floating Apple Bits, And The Daily Stir
The biggest mistake of all is expecting this to be finished in a fortnight. It won’t be. Here is a realistic timeline for homemade apple cider vinegar:
– **Week 1-2:** The liquid will become cloudy and start to bubble. This is the alcohol stage. It smells sweet and funky, not necessarily sour yet.
– **Week 3-4:** The bubbles will slow down, and a cloudy, jelly-like substance called the “mother” might form on top. The liquid starts to smell more like vinegar.
– **Week 5-6:** Once it tastes sharp and acidic, it’s ready to strain.
And you absolutely have to stir it every day. Why? Because the apple scraps tend to float to the top. If they sit exposed to air, they dry out and mold. That is your number one enemy. You want to push the apple matter down under the liquid every day to keep it wet and submerged. It takes literally twenty seconds, but it’s the difference between a healthy brew and a fuzzy, hazardous mess.
Here’s the thing about that “mother” I just mentioned. It looks weird. It’s a rubbery, cloudy blob that forms on the surface. Do not panic and toss it out. That is the good stuff. It contains the active bacteria and yeast that turn alcohol into vinegar. It’s your new little pet. Once your vinegar finishes, you can actually use that mother to start your next batch and speed up the process. Just keep it in a jar of vinegar until you’re ready.
When it’s finally ready, and you strain out the scraps, you’ll have a raw, unpasteurized vinegar that still contains the mother. That’s the gold standard. It’s shelf-stable, but it might develop a little sediment at the bottom. That’s normal and totally fine. Shake it up before using it, and store it in a cool, dark place. A pantry works better than a sunny windowsill.
The payoff is a tangy, fruity vinegar that you made from nothing but garbage and sugar. It tastes far more vibrant than the stuff in the store. Use it in salad dressings, a splash in your bone broth, or that weird hair rinse your grandma keeps talking about. This is a genuinely rewarding DIY fermentation project. You just have to trust the process a little and remember that it’s alive. Don’t rush it. Just keep it safe, keep it wet, and let it do its thing. Have fun with the process.
Leave a Comment