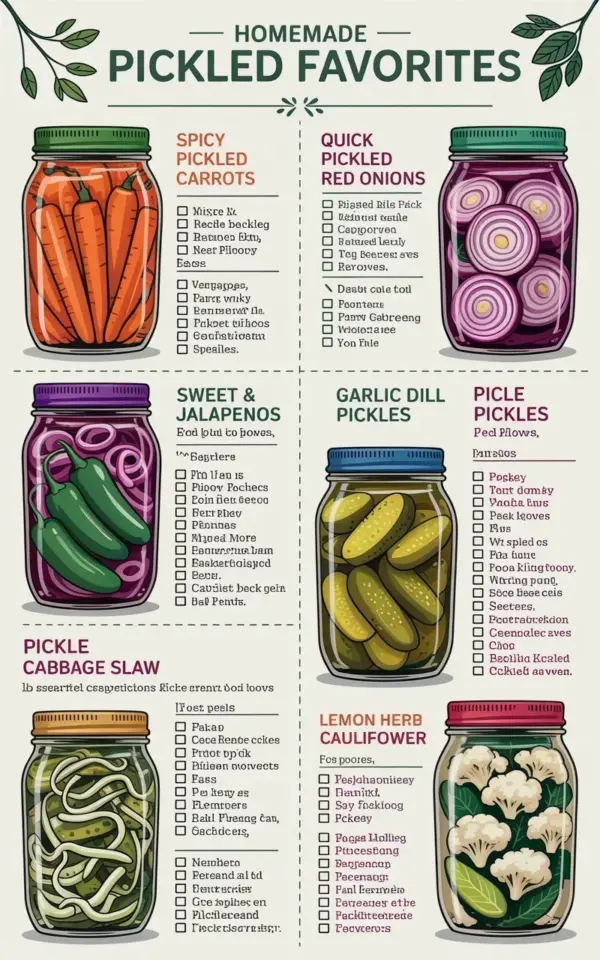
Ok, so you’ve picked the perfect weekend project. Everyone loves the idea of a pantry shelf lined with jewel-toned jars, but so many people mess it up on the first try. They end up with mushy cucumbers or a jar of vinegar that tastes like a science experiment. I’ve been there. It’s why I finally just wrote all my favorite recipes down in one gridded infographic for my own kitchen wall, the one titled “Homemade Pickled Favorites.”
That infographic sits right above my fridge. Honestly, I reference it more than my actual cookbooks. The rustic jars on that print, filled with spicy carrots, quick pickled red onions, sweet and spicy jalapeños, garlic dill pickles, a pickle cabbage slaw, and lemon herb pickled cauliflower, they aren’t just decoration. They are a masterclass in avoiding the soggy, bland, or overly tart mistakes that plague newbies. Let’s fix your pickling game so you can actually use up that garden bounty without wanting to cry. Save this page for your next big batch, and let’s get those refrigerator pickles sorted.
Start with the Right Brine Ratio (And Stop Guessing)
The biggest rookie mistake I see is dumping a cup of vinegar and some water into a jar and hoping for the best. That is a one-way ticket to pickles that either burn your throat or taste like flavored water. The magic ratio for most refrigerator pickles is a 1:1 ratio of water to vinegar. That is the base line, folks.
You might think more vinegar means a longer shelf life, but for fridge pickles, it just means you are going to be making a sour face. Stick to the 1:1 mix unless the recipe specifically says otherwise. For the **Garlic Dill Pickles** in the infographic, I use exactly this ratio, a heavy hand of fresh dill, and about four smashed garlic cloves per jar. It’s strong, but it doesn’t assault your taste buds. And please, for the love of all things crunchy, use pickling salt instead of iodized table salt. The iodine can mess with the color and turn your brine cloudy.
Don’t Skip the Salt Step for Crisp Cucumbers
Look, we all hate doing extra work, especially when a recipe says “easy.” But there is a massive difference between a crisp pickle and a limp, sad one. The secret isn’t just in the vinegar; it’s in salting your cucumbers first.
Slice your cucumbers, lay them in a single layer on a baking sheet, and sprinkle them with salt. Let them sit for 20 to 30 minutes. This draws out the excess water, which is the main culprit for mushiness. Then, you just quickly rinse them and pack them in the jar. I know, I know, it feels like a pain. But when you are snacking on these two weeks later and they still have that snap, you are going to thank me. This step is non-negotiable in my kitchen, even for the **Sweet & Spicy Jalapeños** if I want them to stay punchy.
The “Quick” in Quick Pickled Red Onions Is a Trap
Here’s the thing about “quick” pickles: they are quick to make, but they still need time to taste good. You cannot slice an onion, pour hot brine over it, and eat it five minutes later. That is just an onion with a vinegar complex.
Your **Quick Pickled Red Onions** need at least 30 minutes to an hour to mellow out. If you want them truly vibrant and slightly sweet for tacos or salads, give them two hours. The hot brine is essential, but you need to let the jar cool to room temperature before you even think about screwing the lid on tight and sticking it in the fridge. Patience is a virtue, and it’s the main ingredient missing in most homemade pickle stories. Don’t rush the magic.
Blanching Vegetables Keeps Your Mason Jar Recipes from Failing
This is the section for my cauliflower and carrot people. I learned the hard way that hard, dense vegetables like cauliflower and carrots do not brine well raw in a fridge environment. They stay too crunchy and don’t absorb the flavor properly. You have to blanch them first.
Drop your cauliflower florets or carrot sticks into boiling water for about two minutes. Just two! Then immediately shock them in an ice bath to stop the cooking process. This softens the cell walls just enough to let the brine seep in while keeping that perfect texture. The **Lemon Herb Pickled Cauliflower** in that infographic tastes amazing specifically because of this step. If you skip it, you will open your jars a week later and basically be eating raw vegetables floating in juice. It’s a total waste of good produce.
Fermenting vs. Refrigerator Pickles: Know the Difference
This is where I see the most confusion. Homemade refrigerator pickles are **not** fermented pickles. They are pickled using vinegar, and they don’t get left on the counter to fizz and bubble. They are also not designed to be stored in a cupboard for a year. They go straight into the chiller.
I know your grandmother canned her garlic dill pickles for a shelf-stable pantry, but these recipes in this mason jar guide aren’t calling for that. The **Pickle Cabbage Slaw** is a perfect example. If you heat processed that slaw, you would end up with a mushy mess. It’s meant to be crisp and refreshing. These are “make and eat within a few weeks” jars, not “survive the apocalypse” jars. Knowing that distinction saves you from worrying why your fridge pickles aren’t shelf-stable or why they taste different than a fermented jar. Embrace the cold door shelf.
Weird Mistakes That Ruin a Batch (But Are Easy to Fix)
Here is a random dump of things I have learned the hard way. Sometimes it’s the small stuff that turns a perfect batch into a waste of effort. Your jars need to be clean, obviously, but they don’t need to be sterilized for refrigerator pickles. Hot soapy water is fine. Also, don’t be shy with the aromatics; those whole spices and leaves are not just garnish.
– **Tannins for crunch:** Add a single grape leaf or a black tea bag to your **Garlic Dill Pickles**. It keeps them extra firm, no store-bought pickle crisp needed.
– **Watch the sugar:** The **Quick Pickled Red Onions** typically call for a little sugar, but the **Spicy Pickled Carrots** often work better with none or a tiny splash of honey.
– **Herbs hate boiling water:** This is my biggest pet peeve. Pouring boiling hot brine over delicate herbs like dill or cilantro ruins their flavor, making it bitter. I always add the herbs to the jar, then pour the hot liquid in, but I keep the liquid off the herbs until it cools a bit. Okay, that sounds fiddly, but just don’t let them get cooked in the brine.
Storing Your Homemade Pickles for the Long Haul
Once you have your jars filled, sealed, and cooled, the final mistake happens. You shove them in the fridge and completely forget about them. That isn’t necessarily a bad thing, they keep for weeks, but you need to know your timeline.
Most of these refrigerator pickles hitting their peak flavor between 48 hours and one week. The **Sweet & Spicy Jalapeños** are usually good after two days, but the **Garlic Dill Pickles** need a full week to really taste like pickles and not just cucumbers in pickle juice. Label your jars with the date, people. You will forget. I always think I will remember, and I never do.
Alright, go raid your crisper drawer for those vegetables you forgot about. Pick just one of these six methods and make a single jar tonight. Once you taste the difference a proper brine makes, you’ll never buy a jar from the store again. Have a favorite combination that I missed? Get creative in the comments section, I’m always looking for a new jar to stash in the back of my fridge. Happy pickling! 🥒
Leave a Comment