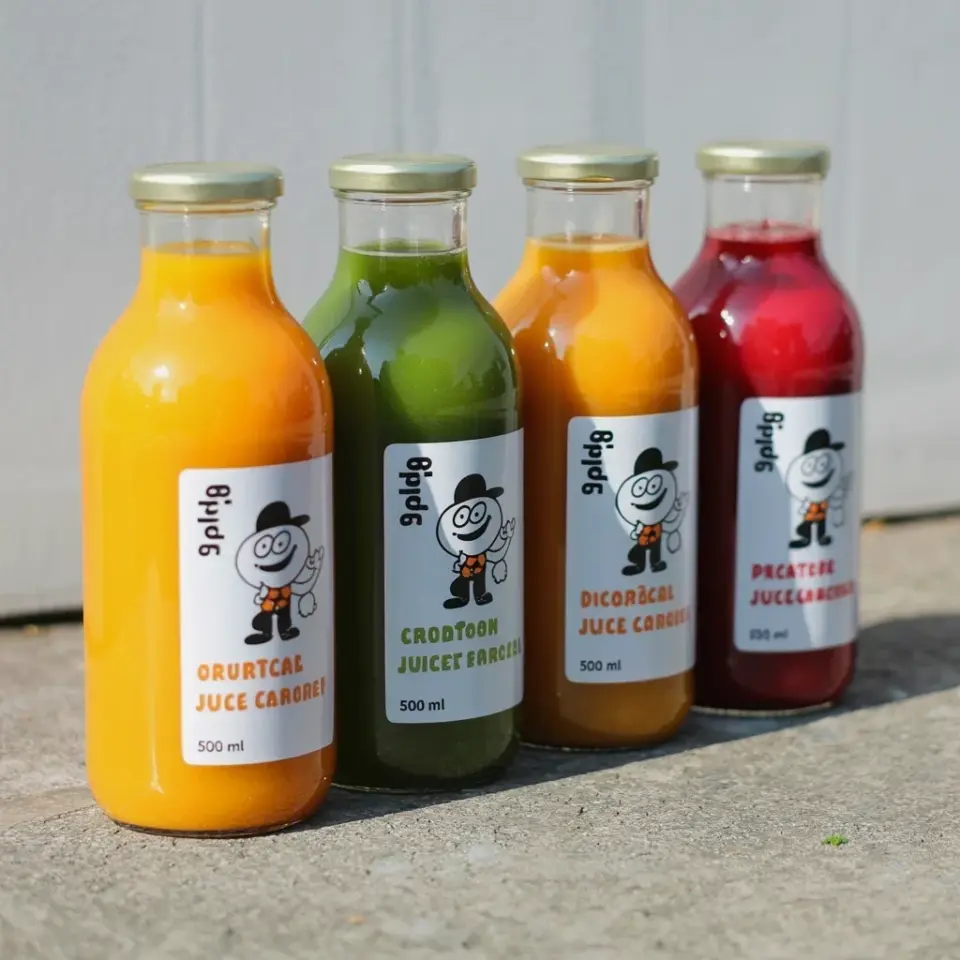
So you want to try kombucha brewing on a budget but you’re staring at pricey starter kits on Amazon and feeling a little defeated. Look, I get it. I almost dropped forty bucks on a “complete brewing system” once. Then I realized I already owned a jar. And a cloth napkin. And a rubber band. Suddenly that forty bucks felt like a waste. The truth is, you can start fermenting for free or nearly free. I’ve been doing it for two years with gear that cost me maybe five dollars total. Ready? Let’s talk cheap fermentation tips that actually work.
What you actually need to start brewing kombucha (hint: not much)
Let me be real with you. You do not need a special glass jar with a spigot. You don’t need a fancy thermometer strip or a special “kombucha kit” from a hipster website. Here’s what I use: a two-quart wide-mouth mason jar (the one I normally store pasta in), a clean cotton cloth napkin (the one that came with my IKEA flatware set), and a thick rubber band. That’s it. Ok, you also need a pot for boiling water and a spoon. But I’m guessing you own those. Honestly the whole “gear” thing is marketing. My scoby lives in a repurposed pickle jar and it’s thriving. It doesn’t care about aesthetics.
Growing your own scoby from store-bought kombucha (it’s easier than you think)
Not gonna lie, I got my first scoby from a friend. She just handed me a slimy disk in a Ziploc bag. But if you don’t have a generous fermenting buddy, you can grow one yourself. Grab a bottle of plain, unflavored store-bought kombucha. Make sure it’s raw and unpasteurized (the label will say “contains live cultures”). Pour it into a clean jar with about a cup of sweet tea (one tea bag, two tablespoons sugar, boiled and cooled). Cover with a cloth, rubber band it, and stick it in a warm spot. After a week or two, a new scoby will form on top. It might be thin and weird looking. That’s fine. It works. I’ve done this twice and both times I got a perfectly functional pellicle. No fancy starter kit required.
Sourcing cheap tea and sugar for fermentation
Here’s a little weird personal detail: I buy my black tea from the discount section of a Mexican grocery store. It’s like three dollars for a box of a hundred bags. The quality is totally fine. Your scoby doesn’t care if it’s loose-leaf artisan Darjeeling. It cares about caffeine and tannins. So buy whatever generic black or green tea is on sale. Same with sugar. White granulated sugar is cheapest. I get the store brand five-pound bag for under three bucks. You don’t need raw organic turbinado sugar. Honestly, I tried that once and my brew tasted weird anyway. Stick with cheap white sugar. One bag lasts me months.
- Buy tea in bulk bags, not loose leaf (avoid expensive tins)
- Look for store-brand white sugar (it’s literally the same as name brand)
- Check ethnic grocery stores for even cheaper tea (I found a giant box for $1.99)
- Don’t fall for “kombucha-specific” tea blends – they’re a markup
Brewing in jars instead of expensive continuous brew systems
I use a simple one-gallon glass jar now, but I started with two separate quart jars. It works fine. You just make smaller batches. The trick is to keep your jars clean. Wash them with hot water and soap, then rinse really well. No soap residue. If you’re worried about mold, don’t be. As long as you use clean hands and clean jars, your kombucha will be fine. I’ve never had mold in three years. And I’m not a clean freak. My kitchen is messy. But I do rinse my jars immediately after emptying them. Anyway, the point is you can use any glass container. Old pickle jars. Spaghetti sauce jars. Even a glass bowl if you cover it well. Just no metal lids directly on the fermentation area (the acidity reacts with metal). Use cloth.
How to save money on the fermentation process itself
Ok so here’s my biggest money-saving tip: reuse your scoby over and over. That sucker will keep making kombucha for months, even years. Every batch, a new thin layer forms on top, but the original stays active. Don’t throw it away. Also, you don’t need to buy expensive “starter liquid” for each batch. Just reserve a cup of your finished kombucha from the previous batch. Pour it into the new sweet tea. That’s your starter. Free. The only real ongoing cost is tea and sugar. And your water bill, I guess. But come on. I spend maybe a dollar per gallon of homemade kombucha. Store-bought costs four or five bucks for a 16-ounce bottle. Do the math. That’s why I brew. Not for the health hype. For the savings.
Flavoring your budget kombucha without buying fancy ingredients
You don’t need to buy those expensive bottled fruit syrups or “kombucha flavor packs”. I use whatever I have in my kitchen. Fresh ginger, chopped small. A handful of frozen berries (the bag was on sale). Even leftover apple cores and cinnamon sticks. Throw them into a jar with your finished kombucha, seal it tight, and let it sit for another day or two for a second fermentation. That gives you fizz. I once used a bruised peach from my fruit bowl. Best batch I ever made. Be creative. Don’t overthink it. Also, if you want fizzy booch, save your plastic soda bottles (rinsed well). The carbonation builds up and you can feel when the bottle gets hard. Cheap and effective.
One more thing: if your first few batches taste too vinegary, don’t panic. You probably let it ferment too long. Shorten the time by a day or two. Or add a little more sugar next time. There’s no final exam here. Just drink it.
Common mistakes that waste money (and how to avoid them)
I have definitely messed up. Biggest mistake? Trying to do a continuous brew in a jar with a spigot that I bought on a whim. The spigot got clogged with yeast. I had to disassemble the whole thing and it was a sticky mess. Never again. Stick with simple jars. Another mistake: buying expensive “scoby hotels” or special storage containers. Your scoby can live in a jar of leftover kombucha in the fridge for weeks. It’s not a diva. Also, don’t buy those little temperature strips that stick on the side. You can just feel the jar with your hand. If it’s warm to the touch, it’s fermenting. If it’s cold, move it to a warmer spot. Common sense saves you money.
- Don’t buy a special “kombucha brewing vessel” – a jar is a jar
- Avoid fancy starter cultures (you can grow one for free)
- Skip the pH test strips (your tongue can tell you if it’s too acidic)
- Do not buy “kombucha sugar” – white sugar is perfectly fine
And please, don’t throw out a scoby that looks a little brown or has some stringy bits. That’s normal. It’s yeast strands. They’re not mold. Mold is fuzzy and dry. If it’s slimy, it’s fine. I’ve had scobies that looked like a science experiment gone wrong, and they still brewed perfectly. Trust the slime.
So there you go. Kombucha brewing on a budget is totally doable. Start with a jar, a cloth, and a bottle of store-bought booch. You’ll be sipping your own fizzy tea in a couple weeks. And your wallet will thank you. Give it a shot. Maybe start this weekend while you’re already procrastinating on something else. That’s what I did. No regrets.
#kombucha #brewing #fermentation #budget #diy
Leave a Comment