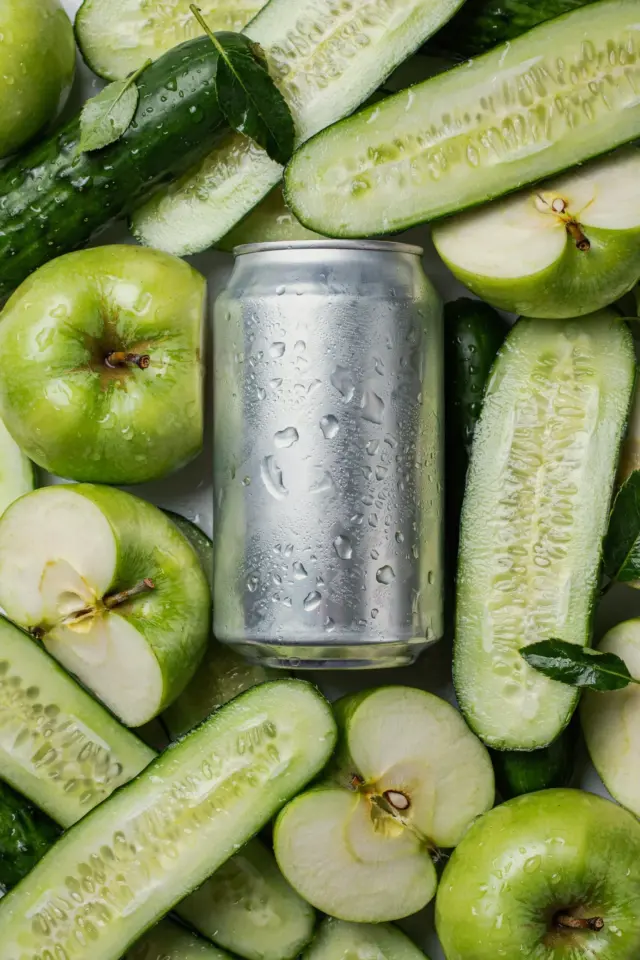
My kitchen counter was covered in bottles of stem cider, and my phone was about to die. I had finished the second ferment minutes earlier, and the afternoon light was doing that thing where it turns everything golden for maybe ten minutes before it shifts. So I grabbed the closest bottle, wiped the condensation off with my sleeve, and started shooting. That’s when I landed on a Kombucha Brewing Photo Hack so simple it felt like cheating.
Look, I’m not a professional photographer. I’m someone who brews kombucha in a tiny apartment and wants the photos to look half as good as the taste. This specific batch was a stem cider, which is one of those flavors that looks clear and amber in the bottle but turns into something else entirely when you pour it. I had five minutes, no fancy lights, no backdrop, and honestly, I got one of my favorite shots ever. Here’s exactly what worked.
Why you should bother photographing your kombucha at all
You’re already spending days brewing, waiting, bottling, and hoping the carbonation doesn’t explode. Taking one photo costs less time than cleaning up a failed ferment, and it pays off more than you’d think. Friends ask about your batches, social media wants visual proof, and honestly, future you will appreciate a record of what you made.
I used to skip the photos because I thought I needed a DSLR and a softbox. That was just an excuse. The photo I got from this stem cider shoot was taken on a phone that was at 14% battery, and it looked better than some studio shots I’d managed before.
So consider this your permission to stop overthinking the gear. If you can brew two cups of tea, you can take a good bottle photo. The formula is simpler than the fermentation math.
The exact setup I used for the stem cider shot
For this particular shoot, I didn’t clean the counter. I didn’t set up a tripod. I moved a glass of water and a stray apple out of frame and just went for it. That’s it.
What I did pay attention to was the angle and the background. I used a dark wooden cutting board as a base, which contrasted with the amber tones of the cider. Behind the bottle, I placed a crumpled linen napkin to break up the flat wall. That’s the kind of detail you can steal.
Here’s what the setup looked like:
– A bottle of stem cider, still cold and slightly misted
– One window with indirect afternoon sun to the left
– A dark cutting board for grounding
– A linen napkin, partially crumpled, for texture
– My phone camera, zoomed to 1.5x and held at bottle height
That’s the whole list. I didn’t use a reflector, though I briefly considered holding a piece of white paper to the shadow side. I didn’t need it because the light was already diffused through clouds. If you have direct sunlight, just move the bottle a foot or two back from the window.
How to work with natural light, even when it’s ugly
Natural light is free, but it’s not always cooperative. The trick is to stop fighting it and start using what you have. If the light is harsh, move the bottle until you see softer shadows on the label. If it’s too dim, don’t boost your exposure to the point where everything gets grainy.
That afternoon, the light was slightly overcast, which is my favorite condition for bottle shots. It wraps around the glass instead of bouncing off it. You know that soft, even glow you see on kombucha brand pages? That’s often just a window on a cloudy day.
For the stem cider, I noticed that the clarity of the liquid really popped when I placed the bottle so the light came from behind and to the side at a 45 degree angle. That made the bubbles in the liquid visible. If you position a bottle with light straight on, you get glare. Move it a little and the glass becomes transparent enough to see what’s inside.
Getting the fizz to behave for the camera
Kombucha bubbles don’t just happen when you pour. They show up on the walls of the bottle as tiny clingy pearls, and they can vanish in seconds if you’re not ready. So here’s what I did after realizing the first few shots were lifeless.
I gave the bottle a gentle swirl. Just one, not a shake, because a shake would have turned the cider cloudy and released too much carbonation. Then I waited about two seconds. The bubbles rose to the top and clung to the neck in a way that looked almost decorative. That’s the moment I pressed the shutter.
Another thing that worked: I wiped a small area of the bottle with my thumb to create a streak of condensation. That gave the photo a cold, fresh feeling. You can also spritz the bottle with a little water if you want more droplets, but I found that kind of overkill for this shoot.
The lesson is to treat the fizz like a timing element, not an accident. Watch it, wait for the clumps of bubbles to settle into a pattern, and shoot in short bursts. You can always delete the misses.
Composition tricks borrowed from Supercult’s feed
Supercult’s photos always feel calm and intentional, not busy. I’m not going to pretend I know their exact studio setup, but I paid attention to what makes their shots work, and I applied a few of those ideas to my stem cider photo.
First, they give the bottle breathing room. It’s not always centered, and there’s often negative space on one side. I placed my bottle slightly to the right of frame and left the left side as empty counter. That simple shift made the image feel wider and more editorial.
Second, they use a limited color palette. My napkin was off-white, the cutting board was dark walnut, and the cider itself was amber. No bright blue or red anywhere in the frame. That helps the photo look like a cohesive brand look rather than a kitchen snapshot.
Third, they include a human touch, like a hand pouring or a glass half full. But I didn’t have time for a second hand, so I used a raw apple from the counter, placed it half out of focus in the foreground. It added the same sort of everyday, kitchen-scale context without requiring me to set up a whole scene.
My five minute workflow from start to finish
Ok so here’s the real meat of it. The whole shoot took me under five minutes, and I want to walk you through the exact order of operations because that’s what made it possible.
Minute one: I placed the bottle on the cutting board, angled the neck toward the window, and checked the background. I moved the apple to the left, then moved it again because it looked weird, then settled on placing it at the very edge of the frame. I used a napkin to wipe a few smudges off the bottle, but I left some condensation because it looked better.
Minute two: I turned on my phone, opened the camera, and set the focus manually by tapping on the label. This is important because auto-focus sometimes locks onto the background or the glass reflection. Tapping on the darkest part of the label ensures the camera knows what to prioritize.
Minute three: I fired about fifteen shots. Not exactly a burst mode, just a fast finger tap. I varied the angle slightly each time, tilting the camera a few degrees, but I kept the bottle in the same spot. I also swapped between the 1x and 1.5x zoom. The 1.5x compression made the bottle look flatter and more premium.
Minute four: I reviewed the shots and deleted the worst ones. I looked for the ones where the highlight on the bottle wasn’t blown out and the label was readable. I circled one that had a nice cluster of bubbles near the top.
Minute five: I adjusted the exposure down by half a stop in the phone’s edit tool. That deepened the amber color and made the highlights less harsh. I also tightened the crop slightly to remove a distracting corner of a drawer handle. Then I was done.
That’s it. No complex editing software, no external flash. Five minutes from a dirty kitchen counter to a photo that genuinely looks like it took effort.
What to do when the photo still looks flat
Sometimes you follow every step and the result is still boring. I’ve been there with a blueberry batch that looked gray no matter what I did. Here are the two quick fixes that saved me more than once.
First, increase contrast. A tiny bump in contrast makes the bubbles stand out and gives the glass more definition. Most phone editing apps have a contrast slider. Add ten percent and see if the photo wakes up.
Second, change the background. If everything looks dull, the problem might be that your surface is too similar to the liquid. A pale kombucha on a white counter will always look washed out. Put something dark behind or under it. I’ve used a black sweatshirt folded into a square when I couldn’t find anything else.
Another option is to crop tighter than you think you should. A close crop on the neck of the bottle, where the bubbles collect, rarely looks boring. You lose the full label, but you gain a texture shot that feels artful. That’s a good move for social media, where people are scrolling fast.
If all else fails, come back in an hour and retake it. Light changes throughout the day, and that weird overcast glow might turn into stronger side lighting. I’ve deleted entire batches of photos and then gotten a better shot on the same bottle the next morning.
Just shoot the damn bottle
The next time you’re standing in your kitchen with a finished batch of kombucha, don’t let the lack of setup stop you. Check the light, grab your phone, and take five minutes to shoot something real. The stem cider taught me that a good photo comes from paying attention to bubbles and shadows, not from owning expensive equipment.
Now go brew something great, and when you’re bottling it, point your camera at it before you drink it all. Future you will thank you.
Leave a Comment