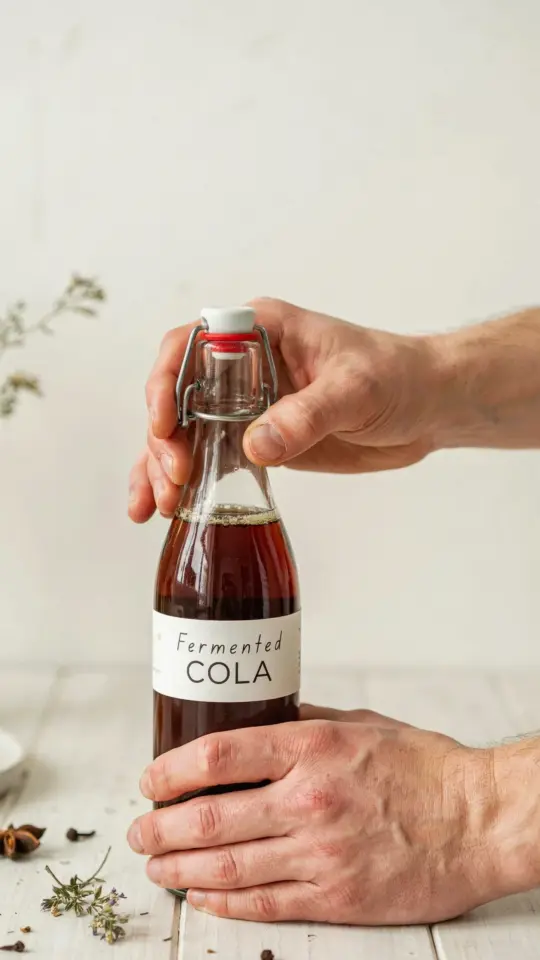
Sugar, spice, and a little bit of wild yeast. That’s the real recipe for the fizzy, funky, and surprisingly delicious homemade cola that’s been bubbling away on my kitchen counter for the last three days. I know it sounds like a science fair project gone rogue, and honestly, it kind of is. This naturally fermented homemade cola recipe is a genuine, plant-based fermenting project that rewards you with a complex, gut-friendly soda that tastes nothing like the stuff in the red can.
What is naturally fermented homemade cola?
Ok so, let’s clear up one thing right away. This isn’t about adding yeast to a bottle of Coke syrup and hoping for the best. Natural fermentation is a totally different beast. We’re harnessing wild yeast and friendly bacteria to create carbonation and a slightly sour, complex flavor profile all on their own. The process is ancient, but the application is delightfully modern.
My first attempt at a fermented drink was a disaster. I was impatient, the bottle exploded in my fridge (a sticky mess), and I nearly gave up. But the second batch? A symphony of fizz and flavor. The process feels closer to tending a sourdough starter or brewing kombucha than it does to making a simple syrup. You’re not just mixing; you’re cultivating a living thing in a bottle.
This specific recipe is a plant-based wonder. No dairy, no processed ingredients, just three main components: the “bug” (your starter), the flavor base, and patience.
The plant-based fermenting ingredients you will need
Alright, here is where the magic begins. You cannot just throw any old soda into your fermenter and expect good results. The components build on each other. The ginger bug is a traditional starter culture that takes about five to seven days to mature, but it’s the heart of the whole operation.
Here’s what I set out on my counter:
- For the Ginger Bug: 2 cups of unchlorinated water, 2 tablespoons of grated fresh ginger (skin on), and 2 tablespoons of unrefined sugar.
- The Cola Spice Mix: This is where it gets fun. You need lime zest, lemon zest, a vanilla bean, and a heaping tablespoon of molasses.
- The Fermentation Fuel: More sugar. I like a mix of white sugar and a touch more molasses for that deep, caramel-like backbone.
A quick note on the water. If your tap water has chlorine or chloramine (which most do), it will literally kill the yeast. Look, you don’t need fancy spring water, but I use filtered water from my fridge. Or, if I’m feeling rebellious, I let the tap water sit out on the counter for 24 hours to off-gas the chlorine. Also, always use organic lemons and limes if you can, since you’re using the zest and the wax on regular ones is gross.
How to make a fermented ginger bug starter
The ginger bug is a wild yeast starter, and it’s easier to make than you think. You’re basically creating a hospitable environment for the wild yeasts that live on the ginger root to multiply. This carbonates your soda and gives it a subtle, spicy bite that separates it from commercial sodas.
Every day, for about five days, I added one more tablespoon of grated ginger and one more tablespoon of sugar to the jar. I stirred it twice a day, morning and evening. Here’s the thing: this is a commitment. I highly recommend placing the jar somewhere you’ll see it. Forgetting to feed your bug is the number one way to sabotage your soda.
By day five, you should see tiny bubbles rising to the top and smell a pleasant yeasty, gingery aroma. If you see that, you have a live culture. If you don’t (especially if it smells like rot), throw it out and start over. It happens to the best of us, and you’ll be better for it on the second try.
Building the cola flavor base with a fermenting recipe
This is my favorite part because it feels so alchemical. While your bug is bubbling away, you can prepare the flavor concentrate. This is the part of the process that gives that unmistakable “cola” aroma. The secret isn’t just Coca-Cola syrup; it’s a combination of spices that mimics that signature bite.
In a medium pot, I add a cup of water, a cup of sugar, and a tablespoon of molasses. If you want to be authentic to the tasting notes, you need that slightly burnt, dark sugar flavor. Then comes the fun stuff: the zest of one lime and one lemon, a smashed vanilla bean (or half a teaspoon of extract, but use the real bean if you have it), and a tiny pinch of sea salt to round things out.
Bring that to a rolling boil, turn it down, and let it simmer for about 15 minutes. The kitchen will smell like a candy shop. After it cools completely, you have a potent syrup. Taste it. It should be overly sweet and spicy before fermentation. If it tastes bland now, it’ll taste boring after the yeast eats up some of that sugar. So don’t be shy with the spices.
The fermentation recipe step by step: bottling and carbonation
Now for the main event. This is where you mix the live ginger bug with your cooled cola syrup. I usually use a half-gallon glass jar, but a large swing-top bottle works too. The goal is to leave plenty of headspace for the carbonation to build, but not so much that oxygen ruins the party.
You want to mix one part starter to about four parts flavor base, then top it off with filtered water. So if you have 2 cups of ginger bug, you need about 8 cups of liquid total. I usually just eyeball it after a few batches, but the most important part is measuring the starter when you’re starting out.
Then, you seal the bottle and let it sit at room temperature for 24 to 48 hours. Fermentation time varies wildly based on the temperature of your kitchen. My house is cold, so I often wait closer to 48 hours. You will know it’s working because tiny bubbles will start to form, and the liquid will get slightly cloudy. This produces gentle carbonation as the pressure rises inside the sealed bottle.
Troubleshooting the fizz: knowing when your ferment is done
Here’s where I warn you about the dangers of over-fermentation. You want a fun, fizzy soda. You do not want a bottle to spray sour, foamy liquid all over your ceiling when you crack it open. It’s a right of passage, but it’s a messy one.
My best tip is to use a plastic water bottle as a “fizz tester.” Fill a small plastic bottle with the same mixture and cap it. When that plastic bottle feels rock solid (like a hard football you can’t squeeze), your glass bottles are perfectly carbonated. Transfer them to the refrigerator immediately. The cold halts the fermentation process almost entirely and keeps the pressure stable.
If you open your glass bottle and it just hisses like a tire with a leak, the pressure is too high and you’ve got flat, yeasty water. Not great. You can save a slightly flat batch by stirring in a pinch of fresh ginger bug and re-bottling, but there is a limit. Sometimes you just have to accept the loss and remember to check the tester bottle earlier next time.
Also, don’t store the finished soda in the fridge for more than a week. The yeast is still alive, just slow. It will get more sour and sharply alcoholic tasting as the days pass. Drink it fresh! The most alive fizz happens within the first three days of chilling.
There it is. A real, honest-to-goodness, plant-based soda that actually ferments. You’re not just making a drink here; you’re getting familiar with the invisible forces of nature that live all around us, and bottling them up for your lunch. The flavor is deep, the carbonation is lively, and the feeling you get when you see that first bottle fizz up is honestly a little bit thrilling.
I’d love to know how your first batch turns out. Put your questions and your flavor tweaks in the comments, and tell me if you had a bottle explosion story like mine. Let’s keep this fermentation thing going.
Leave a Comment