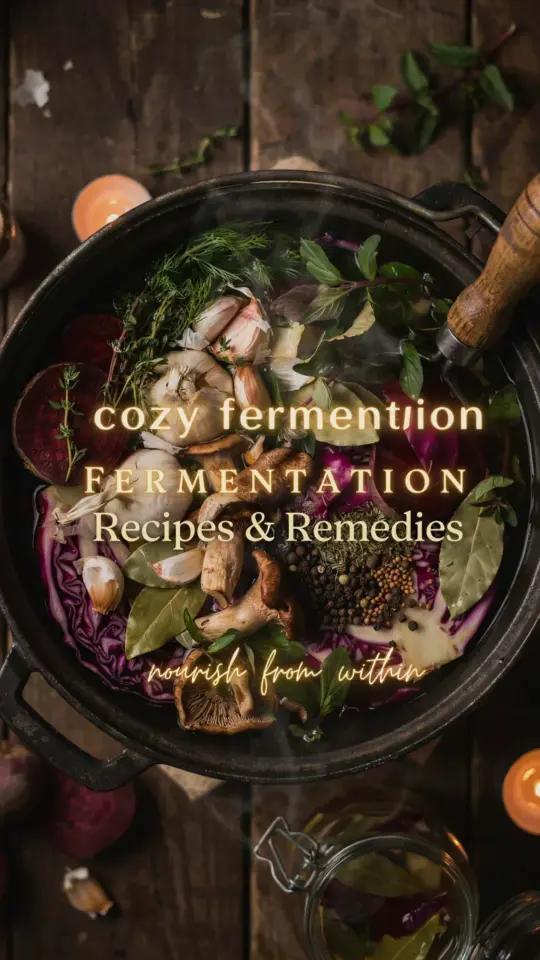
If you have been trying to make medicinal mushroom bone broth for immunity and it comes out thin, bland, or just not as nourishing as you hoped, you are probably making the same mistake I made my first few times. I threw in reishi, chaga, and a bag of bones, let it simmer all day, and ended up with watery broth that barely helped my sniffles. The problem? I skipped the acid. A splash of apple cider vinegar is not optional here, it is the single most important step to unlock all the collagen, minerals, and flavor that make bone broth actually support your immune system. Let me show you exactly how to fix this, even if you have never made broth before.
Why skipping the acid is the number one mistake for healing bone broth
Bones are dense and tough. Collagen, gelatin, and minerals like calcium and magnesium are locked inside that hard matrix. Without an acid to help break them down, your simmering water can only pull out a tiny fraction of those nutrients. That is why your broth stays pale and watery, rather than turning into that deep, jiggly, golden liquid you see in health blogs. Apple cider vinegar or any mild acid lowers the pH just enough to soften the bones and release their goodness over a long, slow cook. You do not need much, just a tablespoon or two per gallon of water.
Think of it as the key that opens the door. No acid means the door stays locked, and your medicinal mushrooms like reishi and chaga float around in a mineral poor bath. They infuse better when the broth base has body and collagen, because those fats and proteins help carry the mushroom compounds into your system. So before you add any herbs or fungi, make sure the acid is in the pot.
How apple cider vinegar extracts collagen and minerals from bones
Collagen is what gives bone broth its immune supporting reputation. It supports your gut lining, and a healthy gut is directly linked to a strong immune response. But collagen is not dissolved easily. The acetic acid in apple cider vinegar works by breaking the bonds between calcium and phosphorus in the bone structure. This lets collagen fragments, gelatin, and trace minerals seep into the water over hours.
I use raw, unfiltered apple cider vinegar with the mother, but any white vinegar or even lemon juice will work. Just do not skip this step because you are in a hurry or worried about flavor. The vinegar taste cooks off completely after a few hours of simmering. What remains is a rich, savory broth that sets into a firm gel when chilled, a sign that you have extracted plenty of collagen. If your broth never gels, you likely skimped on the acid or did not simmer long enough.
Step by step: making a beginner friendly medicinal mushroom bone broth
Start with bones. Chicken feet, beef knuckles, or pork neck bones are high in collagen. Roast them in the oven at 400°F for 30 minutes to deepen the flavor. Place them in a large pot or slow cooker and cover with cold water by two inches. Add 2 tablespoons of apple cider vinegar per gallon of water. Let it sit for 30 minutes before heating; this gives the acid time to start working on the bones.
- Acid first, then heat. Vinegar needs cold water to penetrate the bones. Do not turn on the heat right away.
- Add mushrooms after 2 hours. Reishi and chaga are tough and woody, but they release their immune supporting beta glucans best after some collagen has already been extracted. Drop them in after the broth has been simmering for a couple of hours.
- Keep the lid on. Evaporation concentrates flavor but also reduces volume. Covering helps retain moisture and keeps the temperature steady.
- Simmer, do not boil. Vigorous boiling emulsifies fats and makes the broth cloudy and greasy. Bare bubbles are perfect.
That initial cool soak with vinegar is the step most people skip. It makes all the difference. Try it once and you will see the broth turn a deep amber color, a visual clue that the minerals and collagen have dissolved.
Choosing the best medicinal mushrooms for immune support
Not all mushrooms do the same thing. For immunity, you want species that modulate the immune system rather than just stimulate it. Reishi is calming and adaptogenic, great for stress related immune dips. Chaga is packed with antioxidants and supports gut health. Turkey tail is another excellent choice if you can find it, it contains polysaccharide K, which is studied for immune function.
I buy whole dried chaga chunks and reishi slices online or at local herb shops. They look like bark, not like grocery store mushrooms. You do not need to pre soak them. Just drop them into your simmering broth after the collagen has started to release. Let them simmer for the remaining 7 to 8 hours. Strain them out with a fine mesh sieve before storing. You can reuse the same mushrooms for a second batch, though the flavor will be weaker. I toss mine into the compost after two uses.
How long to simmer for maximum healing benefits
Nine hours is the sweet spot for a deeply nourishing herbal broth, but do not panic if you only have six. The longer it simmers, the more collagen and minerals you extract. With chicken bones, 6 to 8 hours is enough. With beef or pork bones, aim for 12 to 24 hours. Medicinal mushrooms need at least 6 hours of gentle heat to release their compounds, so a 9 hour window covers both the bones and the fungi nicely.
I like to start my broth early in the morning on a weekend. I set a timer to check it every couple of hours and add water if needed to keep the bones covered. The vinegar smell fades after the first hour. By hour four, the kitchen smells like a cozy healing kitchen, not a science lab. By hour nine, the broth is dark, fragrant, and slightly thick. That is when you know it is ready.
Common beginner pitfalls and how to avoid them
One mistake is adding vegetables too early. Onions, garlic, and celery add flavor, but if you simmer them for 9 hours they turn into mush and create a bitter taste. Add them only in the last 2 to 3 hours of cooking. Another pitfall is salting too early. Salt draws out moisture and can make the broth overly salty as it reduces. Season only after straining, just before drinking or using in recipes.
Also, do not worry about skimming foam. The foam that rises in the first hour is mostly impurities and some protein. You can skim it off for a clearer broth, but it is not harmful. I personally leave it because I am lazy and the flavor is still great. But if you want a crystal clear broth, scrape that foam off with a spoon.
Storing and using your immune broth effectively
After straining, let the broth cool completely at room temperature, then refrigerate. It will turn into a soft gel if you extracted enough collagen. You can store it in mason jars for up to five days. For longer storage, freeze it in ice cube trays or silicone molds. Pop out a cube whenever you want a quick immune boost, add it to soups, stews, or just sip it warm with a pinch of salt.
You can also use this broth as the base for a simple mushroom tea. Reheat a cup, stir in a little ginger and turmeric, and drink before bed. The combination of collagen, minerals, and mushroom beta glucans supports your body overnight. I do this every Sunday to start the week strong. It feels like a warm hug for my immune system.
Making medicinal mushroom bone broth for immunity does not have to be complicated. The one thing that separates a potent broth from a weak one is that splash of acid at the very beginning. Add your vinegar, wait 30 minutes, then simmer low and slow for hours. Pin this recipe or bookmark it for your next batch. Your immune system will thank you, and you will never go back to skipping the acid again.
#bonebroth #immunitysupport #medicinalmushrooms #herbalremedies #chagamushroom
Leave a Comment